Devices in the Enterprise Portal (Preview)
Enterprise Portal (EP) Admins can view and manage devices for each organization in the EP. You must select an organization from the Global Selector before you can access any devices. From the Devices list, you can filter by status or device OS, take bulk and specific device actions, and open a device’s details.
Terminology:
- Enterprise Portal: Portal where Enterprise Admins manage settings for multiple organizations under one Enterprise Configuration. Differs from the JumpCloud Admin Portal, which is for one organization
- Enterprise (formerly Enterprise Configuration): Centralized hub for all the organizations' objects in the Enterprise Portal. Items can be created and shared for organizations in the Enterprise Portal from this hub
- Organizations: A division of the enterprise (for example a region or a country) that maintains its own users, devices, and resources
- Enterprise Administrator: Admin who has full access to all orgs and enterprise resources
- Organization Administrator: Admin whose access is limited to explicitly granted orgs
- Managed By: Organization that owns the device. Shown as a default column on the Devices list and as a badge on device detail pages
Considerations:
- You must select an organization from the Global Selector before you can view or access any devices.
- You only see devices from organizations you have access to in the EP.
- Devices cannot be enrolled into the Enterprise Configuration organization.
- There are single device actions and bulk device actions available from the Devices List.
- Organization Admins can bind the following resources from the Devices page:
- Device Groups - any Enterprise or Organization group that the Device’s Organization has access
- Policies - any Enterprise or Organization policy that the Device’s Organization has access
- Users - only users from the same Organization
- Commands - only commands from the same Organization
Creating and Viewing Devices
To add a device:
- In the Global Selector, select an organization.
- Go to Device Management > Devices.
- Click + Device.
- Complete the Add Device flow for that organization.
The Add Device page shows a Managed By badge for the selected organization.
To view device details:
- In the Global Selector, select an organization.
- Go to Device Management > Devices and select the Devices tab.
- Click the Device Name.
- The device details page shows a Managed By badge for the owning organization.
- Related tabs (such as Device Groups, Users, Policies, and Policy Results) show Managed By for each resource. Shared Enterprise resources display an Enterprise badge; organization-owned resources display the organization name.
To filter existing devices:
- In the Global Selector, select an organization.
- Go to Device Management > Devices.
- The Overview tab shows OS distribution and activity for the selected organization.
- Click the Devices tab.
- Search for a device or IP address in the Search bar.
- (Optional) Click Filter to filter by status, device OS, or other available filters, then click Apply.
- Sort the list using column headers. The Managed By column is shown by default and identifies the organization that owns each device.
To bind resources to a device:
From a device’s details page, you can bind resources the device’s organization can access:
- Device Groups — Enterprise Groups or local Groups available to that organization
- Policies — Enterprise Policies or local Policies available to that organization
- Users — Users from the same organization only
- Commands — Local commands only (Enterprise Commands are not supported from the device page in this release)
Device Actions
Actions for Single Devices
To apply an action to a single device:
- In the Global Selector, select an organization.
- Go to Device Management > Devices and open the Devices tab.
- In the device’s row, click the breadcrumb menu in the Actions column.
- Choose an action, then Confirm or Cancel if prompted. Actions available include:
- Launch Remote Assist — Remote Assist must be enabled for the organization and the agent installed on the device. You can then perform attended and prompted assist
- Launch Background Tools — Resolve device issues without screen sharing or interrupting end users
- Run Command — Run an ad hoc command on the device
- Manage User Binding — Bind or unbind users to devices
- View Insights — Open Directory Insights for the device
- Lock Device — Remotely locks the screen; the user unlocks by signing in again
- Restart Device — Restarts the device. Any unsaved progress will be lost
- Shut Down Device — Shuts down the device. Any unsaved progress will be lost
- (iOS only) Delete Device Passcode — Unlocks the device so anyone can access it without entering the lock screen passcode
- (iOS only) Delete Screen Time Passcode — Clears the Screen Time passcode so users can reconfigure Screen Time settings
To apply an action to multiple devices
Depending on the state of the device, certain actions might not be available. For example, already locked devices can’t be locked again.
- In the Global Selector, select an organization.
- Go to Device Management > Devices and select the Devices tab.
- Select the device(s), then click the Actions button in the top right corner.
- Choose an action, then Confirm or Cancel.
Exporting Devices
To export the Devices list:
- In the Global Selector, select an organization.
- Go to Device Management > Devices and open the Devices tab.
- Click Export and choose CSV or JSON.
- The file downloads to your device.
Device Groups
To add a new group:
- In your EP, go to Identity Management > Device Groups.
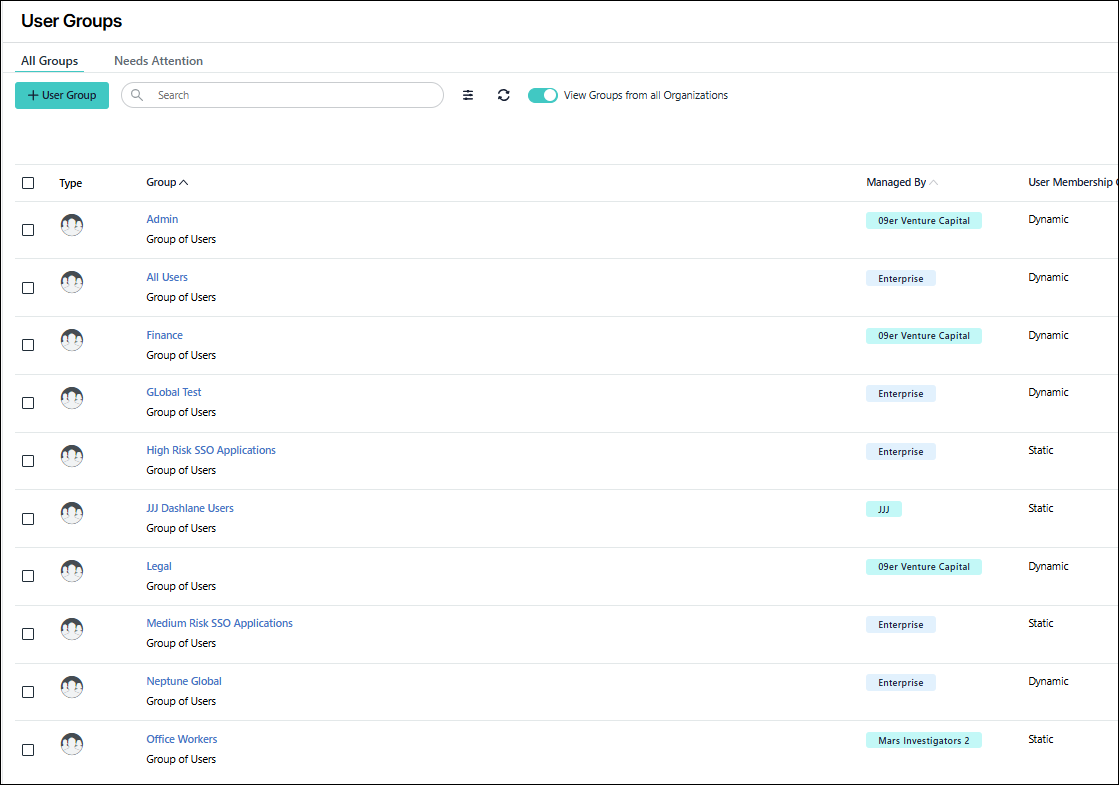
- Click + Device Group.
- Select Enterprise or Select Organization and choose the managing organization from the dropdown.
- Click Continue.
- Manually enter the group information.
- Click Save Group.
To filter existing Groups:
- In your EP, go to Identity Management > Device Groups.
- Search for a specific device group in the Search bar at the top of the page.
- You can also click the Filter button for additional filtering options.
- Once you’ve selected which filter you want, click Apply.
- You can also filter your groups by using the columns at the top of the page; Group, Managed By and Device Membership Controls.
Was this information helpful?